Three years ago, toy designer Quincy Robinson and art-world business aficionado Natalie Mathis created 3DKitbash with the goal of creating premium 3D-printable toys and 3D printer test kits specially designed to not need support structures or glue. Since the company’s founding, Natalie and Quincy have expanded their work and collaborated with a range of sculptors on exclusive designs, as well as with 3D companies and educators to further explore all that 3D printing can do.
One of 3DKitbash’s discoveries has been Geomagic Freeform software by 3D Systems, which is an integral part of their creation process, including for their popular toy model, Mega Ghost. We caught up with Natalie to find out more about 3DKitbash, designing with Freeform, and the inspiration behind Mega Ghost.
Why do you use Geomagic Freeform?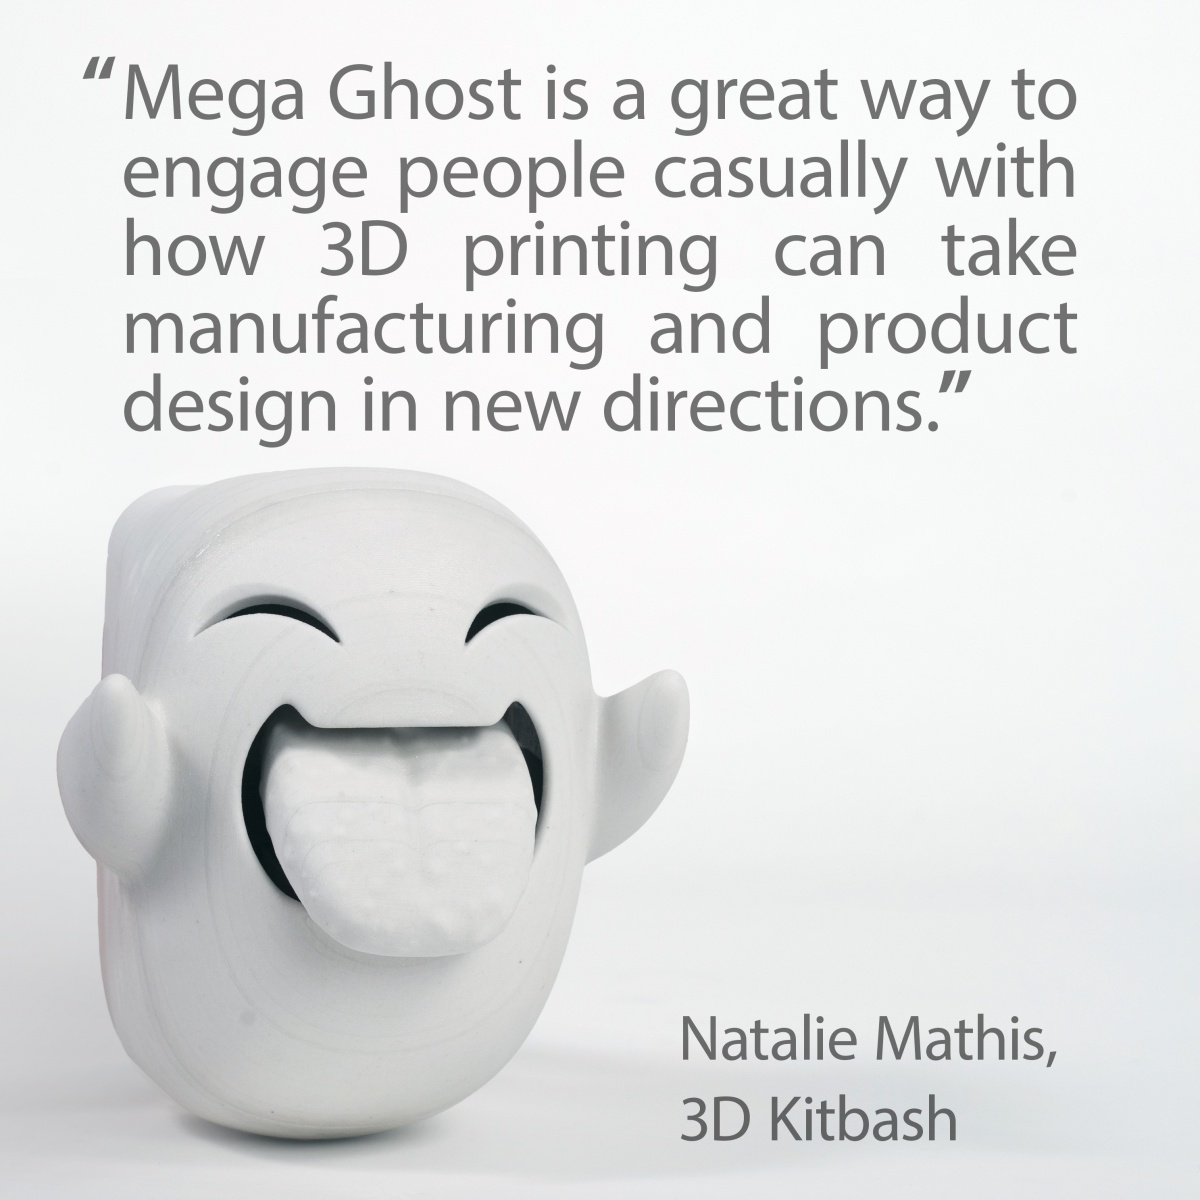
Freeform is easily the best program we’ve found for precise digital sculpting. Haptic sculpting coupled with the ability to have exacting measurements makes for easy and fast transitions between development steps. Before Freeform was available, developers would typically have to build the rigid mechanical elements of a structure within a CAD software and find a way to combine those elements with more sculptural elements that had been created in a separate program. This process of combining elements and file types would almost certainly cause problems. Seriously, it's a drag. Freeform allowed us to get away from a lot of that.
Can you tell us a little bit about your development process?
Using our initial concepts, we begin to layout shapes in Freeform and then gradually cut those away until we get the design we want.
We’re determined that all 3DKitbash products will print on desktop printers, like the Cube, without supports. The fun starts when we figure out how to do that. Essentially, we use Freeform to determine the best areas to “cut” the model such that the newly created edges can be used as bases for 3D printing. If a good area to cut the model isn’t available, we go back and re-sculpt the model to better accommodate support-free 3D printing. After that, we do some test printing. There are usually a few adjustments to make, but they’re easily done in Freeform.
What was your inspiration behind the Mega Ghost?
We originally designed the ghost as a part of our GRAPHICA collection (kits of playfully designed, fast-printing 3D models that print in one piece and each have a moving part). The ghost’s tongue moves, but it’s still 3D printable as a single piece with no assembly necessary. He’s a great example of the kind of designs we’re doing.
Mega Ghost travels with us a lot to 3D printing expos and shows. Kids love him. He’s mischievous, sticking out his tongue at passersby. And he’s a great conversation starter, especially when we tell people that he was printed in one piece. It’s a great way to engage people casually with how 3D printing can take manufacturing and product design in new directions.
What other products do you offer?
Our other lines include Quin and NiQ, a brother/sister action figure duo that teleport to Earth via 3D printers. They’re articulated and posable, standing at 11 inches each. Kids and educators can even customize them with UpKits that include accessories like space helmets, jet packs, tools, facial expressions and utility pins.
How do your models fit in with technology and engineering education initiatives?
We’ve spent a great deal of time talking with educators and they’ve said that what they need is 3D printable models that (1) print within a single class period, (2) are well-designed and engineered to print easily and quickly while being engaging, and (3) to exhibit what 3D printers are capable of. With all that in mind, we see our models providing a fast, engaging way to show kids the foundation of designing for 3D printing. They can use our designs as inspiration for their own. Our models get kids thinking about what’s possible.
You’ve spent a lot of time growing the 3DKitbash community. What tips do you have for the beginner 3D designers you work with?
We’ve learned a few things along the way. First, design with the grain on the printed plastic in mind to minimize splitting. Second, print in colors that photograph well, and experiment with the colors so you can attract people to your models with high-quality images. Third, be good to the community and participate. Thank those who’ve taken time to print your designs. And fourth, tell a story if you can. Give people something to think about while they’re printing and using your models. Use narrative to make your designs into a complete experience.